
You know, when I first heard about daisy-chaining fans, I immediately thought of those old Christmas light strings where if one bulb went out, the whole strand would go dark. Fortunately, PC fan daisy-chaining is way more sophisticated than that! It’s actually one of the coolest innovations to hit PC cooling in recent years, solving that eternal struggle with cable spaghetti behind our cases. The basic concept is beautifully simple: instead of running individual cables from each fan to the motherboard or controller, you connect fans directly to each other in a chain formation.
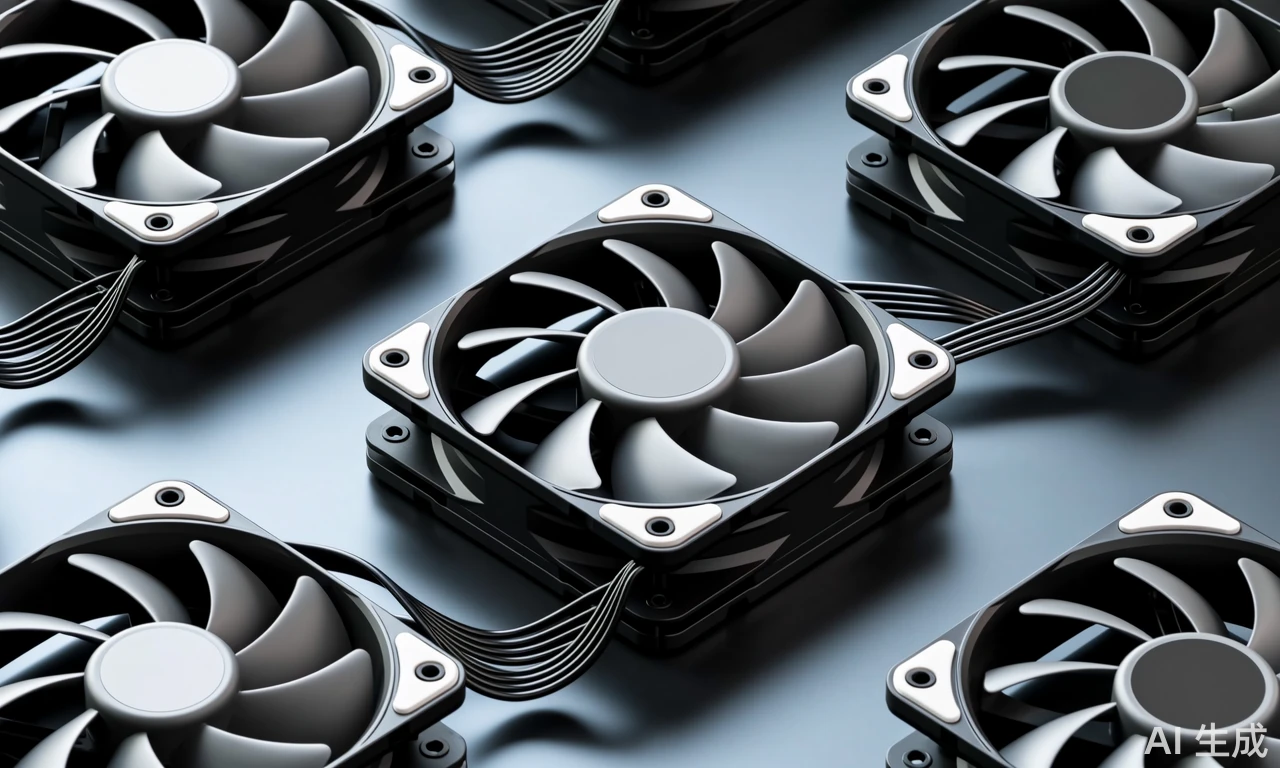
So how does this magic actually work? Each fan in a daisy-chain system comes with both input and output connectors. The first fan connects directly to your motherboard’s 4-pin PWM header for power and speed control, while its output port links to the input of the next fan in line. This creates a continuous pathway where power and control signals flow from one fan to the next. For RGB versions, there’s typically a separate daisy-chain circuit for lighting that follows the same principle – the first fan connects to your motherboard’s 5V ARGB header, and subsequent fans connect to each other.
The Real-World Benefits Beyond Just Cleaner Cables
What really surprised me when I first tried daisy-chained fans was how much it simplified the entire building process. Instead of wrestling with six separate cables for a typical three-fan setup, you’re dealing with just two main cables – one for power and one for RGB. This isn’t just about aesthetics either; fewer cables mean better airflow and easier maintenance. I remember building a system with traditional fans last year and spending what felt like hours just on cable management – what a nightmare!
The technical side is equally impressive. Most daisy-chain systems use a parallel circuit design, which means if one fan fails, the others keep running – no Christmas light effect here! This is crucial for system stability. Thermaltake’s CT200 series takes it a step further with that clever connector clip for the ARGB cables. You wouldn’t believe how many times I’ve had RGB cables come loose during installation – that little clip is a game-changer.
Understanding the Limitations and Best Practices
Now, before you go connecting twenty fans in a single chain, there are some important considerations. Motherboard headers have power limits – typically 1A for PWM headers and 3A for ARGB headers. Most 200mm fans like the CT200 draw around 0.2A-0.3A, so you’ll want to keep chains to 3-4 fans maximum per header. Exceeding these limits could potentially damage your motherboard, and trust me, that’s a headache nobody wants to deal with.
Another thing I’ve learned through experience: pay attention to cable length. While daisy-chaining reduces overall cable clutter, longer chains can experience voltage drop, especially with RGB lighting. The first fan in the chain might be nice and bright, but the last one could look noticeably dimmer. Some manufacturers include signal amplifiers for longer chains, but it’s always better to plan your layout carefully.
Looking at the bigger picture, daisy-chaining represents a shift toward more user-friendly PC components. It’s not just about making things easier for enthusiasts – it makes PC building more accessible to newcomers too. The technology continues to evolve, with some newer systems even incorporating smart detection that automatically configures fan order and addressing. Who knows what they’ll think of next?
Comment List (15):
Load More Comments Loading...